How to Tie a Tie for Kids, Teens, and Beginners
How to Tie a Tie for Kids, Teens, and Beginners
This one-handed method for how to tie a tie is great for kids, teens, and beginners and will give you a great looking tie knot. Go grab a tie, get in front of a mirror, and follow along with the video or written instructions!
Preparing your Dress Shirt
1. Button your shirt all the way to the top.
2. Pop your collar.
Preparing your Tie
3. Hang the tie around your neck with the wide end hanging over your right shoulder, the skinny end hanging over your left shoulder, and the front side facing out (the front side should always be facing out).
4. Adjust the tie so it is MUCH longer on the right shoulder than the left.
5. Hold the skinny tail of the tie (the one on your left shoulder) with your left hand and DON’T LET GO! Your right hand will do all the work.
Create the Tie Knot
6. Wrap the right side around the part you’re holding in your left hand TWO times (front side always facing out).
7. Bring the fat end of the tie from the backside and up through the hole at your neck.
8. Push the fat end down into and through the loop you just created.
9. Hold the knot with your right hand and pull the tail with your left to tighten.
Make Final Adjustments
10. Check the length- it should hit right at your belt. You don’t want it too long or too short.
11. Adjust the knot to be visually appealing and to fit snug to the center of your collar.
12. Put your collar back down and make sure it’s smooth. The little side buttons should be re-fastened.
Troubleshooting
If your tie is too short, start over, and begin with the left side even shorter than before.
If you tie is too long, start over, and begin with the left side a little longer than before.
If you’re a taller or bigger person, you may need to buy a longer length tie and, conversely, boys and younger teens may need to buy a shorter length tie. All ties are not created equal!
When you’re learning, start with a thicker tie. A thicker, better quality tie is much easier to tie than a thin one. Make sure you untie it before you throw it back in your closet, otherwise, it may be wrinkly and misshapen when you need it next.
If your tie is floppy and bothering you when washing your hands or eating soup, try a tie bar. It should fasten your tie to your shirt somewhere between the third and fourth button. Just make sure it’s high enough you can show it off above your jacket and that the tie bar isn’t wide than the tie itself. This monogrammed tie bar is especially debonair.
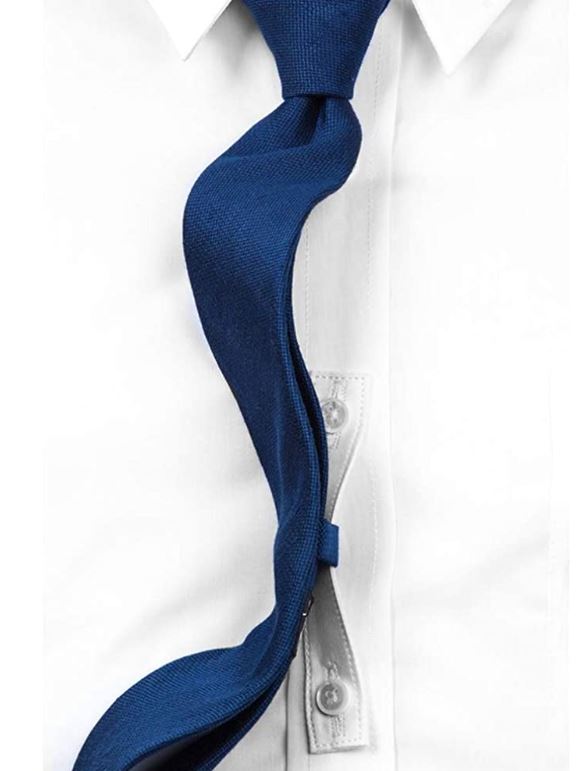
If you prefer your tie bar to be hidden, try out this little gadget called a Tie Thing (literally, that’s what it’s called). It attaches to your shirt via the label on the back of your tie. Pretty neat!

CATEGORY
Some links in my blog posts are affiliate links.
FYI
Copyright 2020-2025 Sydney Dunn Etiquette LLC
PRIVACY |. TERMS & CONDITIONS | PHOTOS BY LITTLE TUNA STUDIOS
Copyright 2020-2025 Sydney Dunn Etiquette LLC | PRIVACY |. TERMS & CONDITIONS | Photos by Little tuna studios